Related Links
Integrate Synology Cloud Sync with IDrive® e2
Use Synology Cloud Sync tool, to synchronize your local NAS data with public cloud or on-premises storage. You can set up your Synology NAS to sync files with your IDrive® e2 Hot Cloud Storage bucket. Learn more about the Synology Cloud Sync.
Prerequisites:
Before uploading files using Synology Cloud Sync, you require:
- An active IDrive® e2 account. Sign up here if you do not have one.
- A bucket in IDrive® e2. See how to create a bucket .
- Valid Access Key ID and Secret Access Key. Learn how to create an access key.
- A valid Synology Cloud Sync account.
Setup Synology Cloud Sync with IDrive® e2
- Download Synology Cloud Sync from the Synology Package Center and install it.
- Open Synology Cloud Sync.
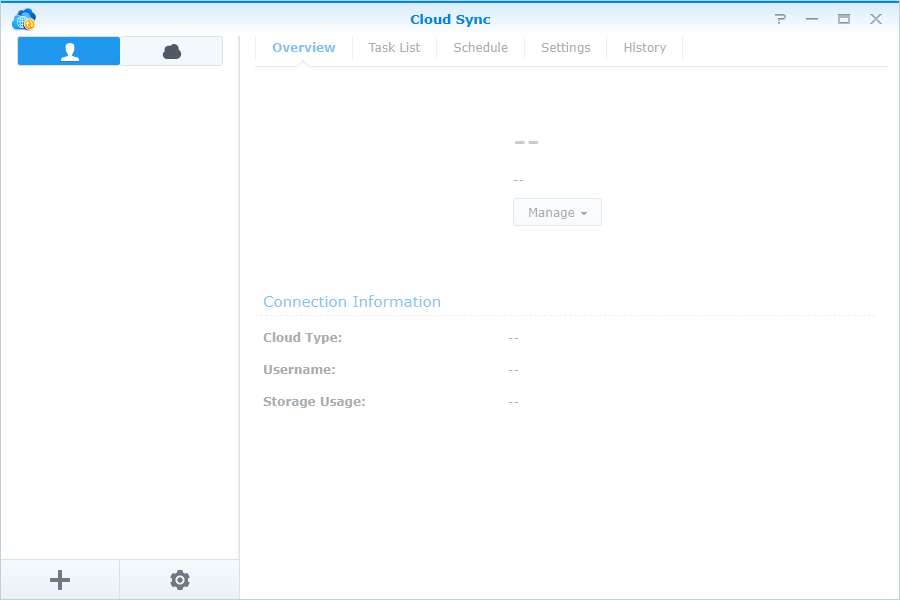
- Select S3 Storage as Cloud Provider.

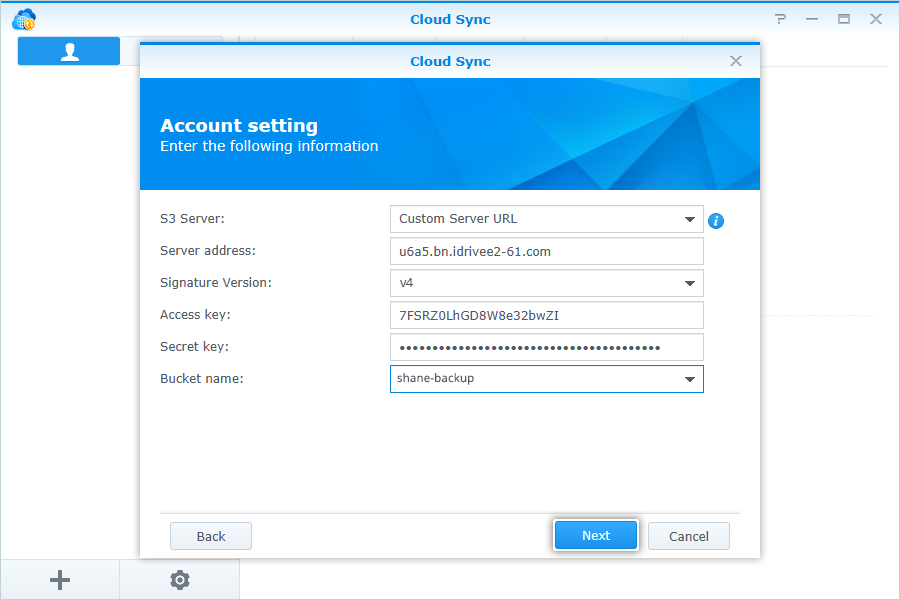
- In Account Settings, select Custom Server URL as S3 Server.
- Enter your e2 storage endpoint as the Server Address.
- Enter your IDrive® e2 Access Key ID as the Access Key.
- Enter your IDrive® e2 Secret Access Key as Secret Key.
- Select the Bucket name from the dropdown.
- Click Next.
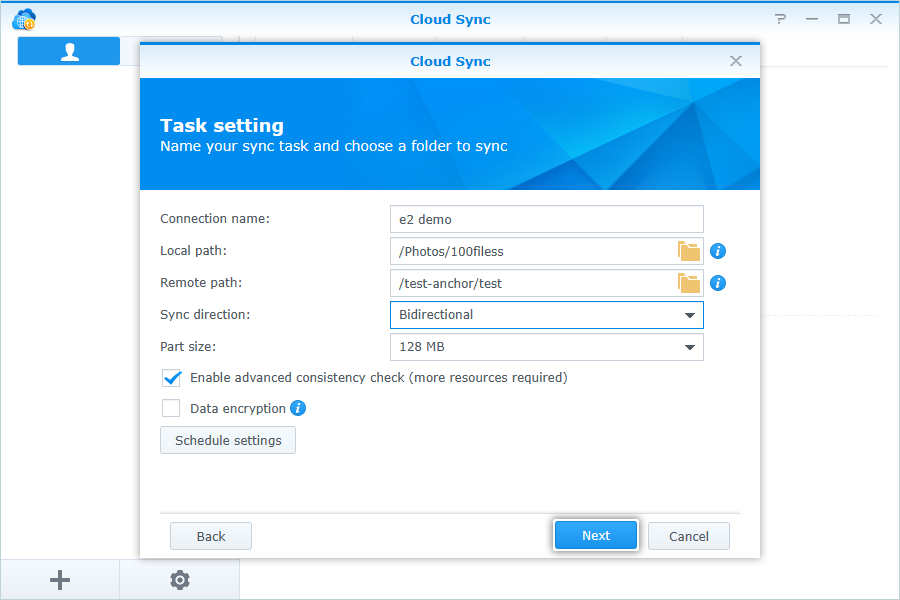
- In Task Settings, enter the following details:
- Enter a name for Connection.
- Select the Local path from your NAS Storage.
- Select the Remote path from your IDrive® e2 Bucket.
- Select Sync direction (Default: Bidirectional).
- Click Next.
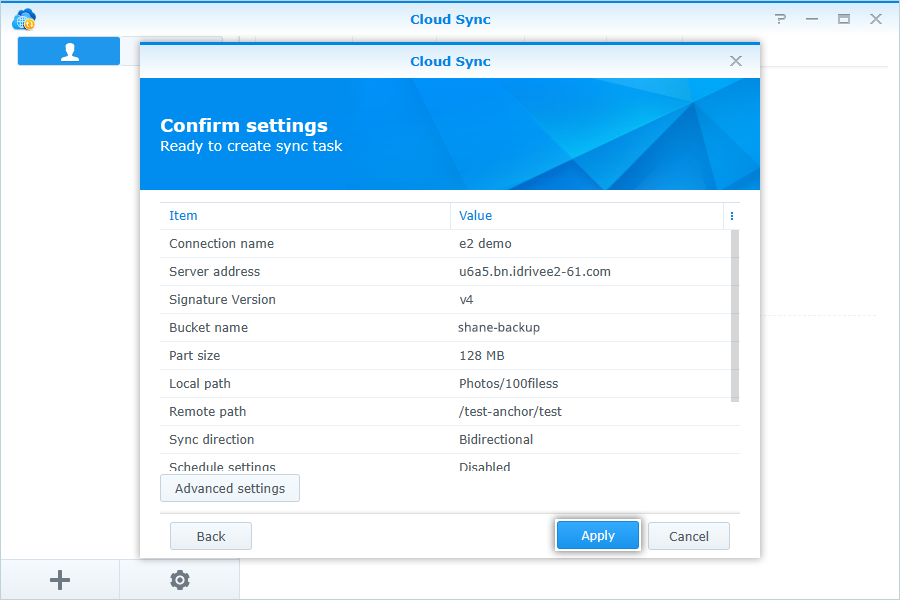
- Click Apply to confirm Task Settings.
Note: After connection, auto-sync will start, and you can see all the files in the IDrive® e2 bucket synced from the Local path of your Synology NAS storage.