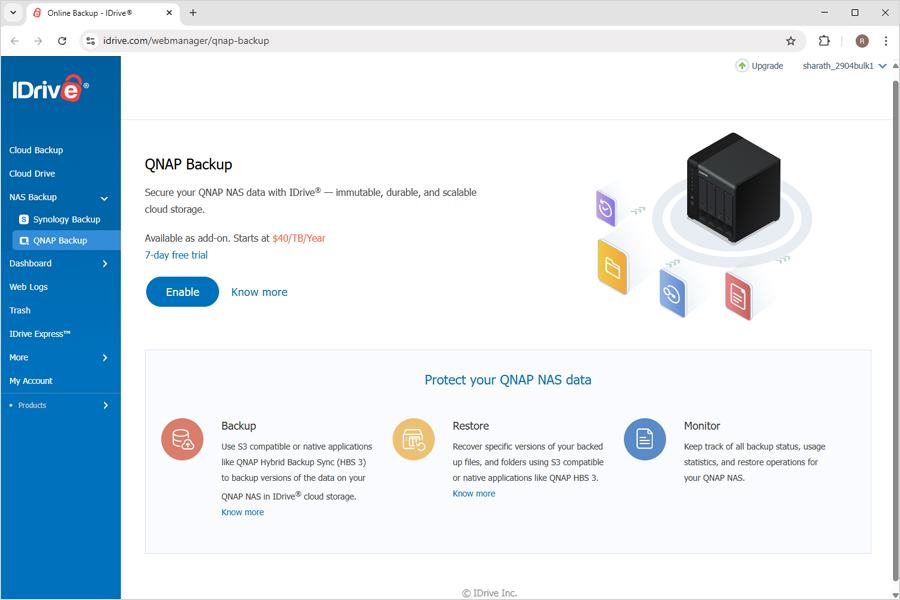
IDrive offers QNAP backup as a paid add-on. Enable it to use IDrive's secure and immutable cloud storage with QNAP's native backup applications like Hybrid Backup Sync (HBS3). This allows you to easily configure and automate backup and restore operations between your QNAP NAS and the IDrive cloud.
Benefits of IDrive QNAP Backup:
Access your backed-up QNAP NAS data from any device, anytime—whether you're in the office or on the go.
Easily scale your storage as your data grows, without worrying about running out of space.
Store your data in a region closer to you to ensure faster, more reliable access and quick recovery.
How do I enable QNAP Backup in IDrive®?
To enable QNAP Backup Sync,
Sign in to your IDrive account.
Navigate to 'NAS Backup' > 'QNAP Backup'.
Click 'Enable'.
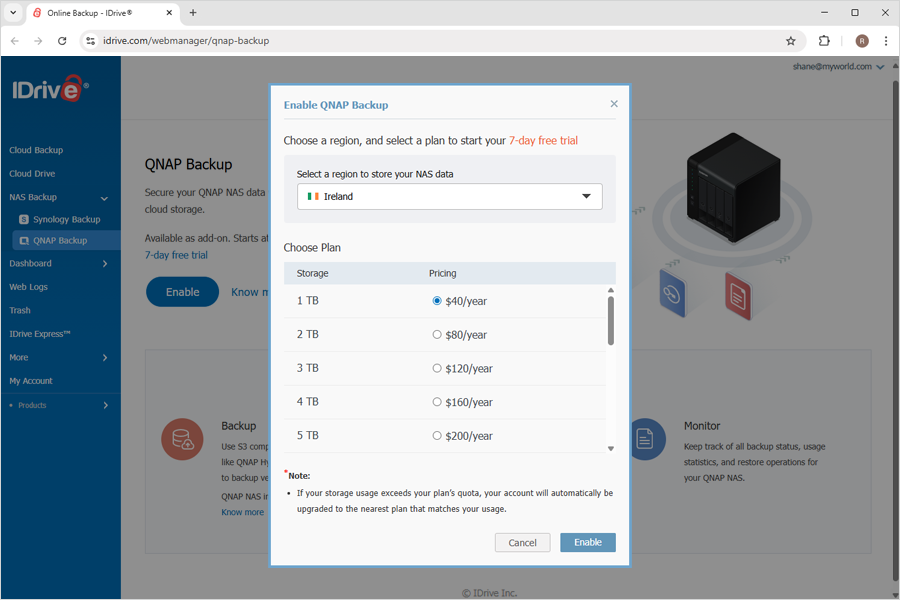
Select a region and a plan and click Enable.
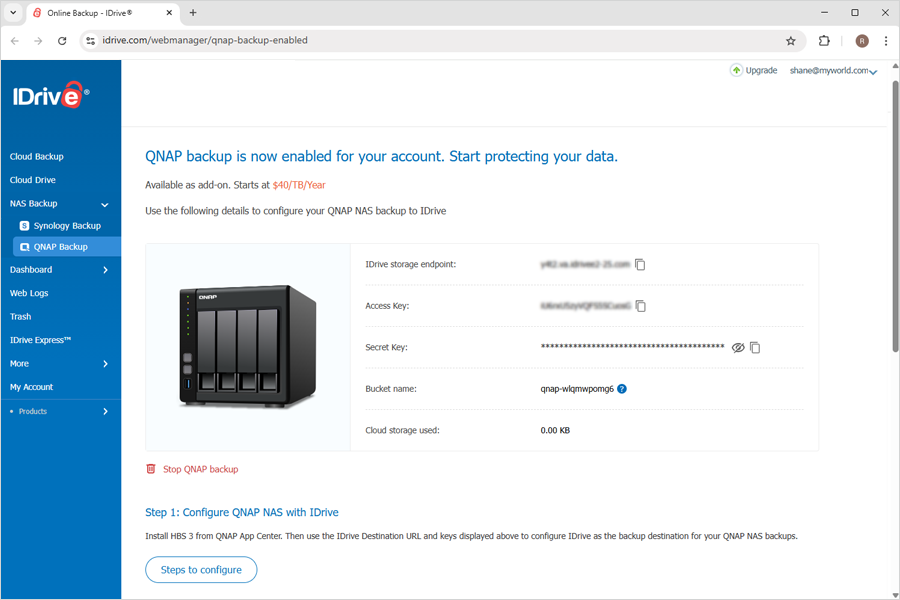
You can use the generated IDrive storage endpoint, secret and access keys for adding IDrive storage as a destination in QNAP HBS 3 – Hybrid Backup Sync.
How do I connect QNAP HBS 3 to IDrive®?
To set up IDrive® as your storage space in QNAP HBS 3 – Hybrid Backup Sync,
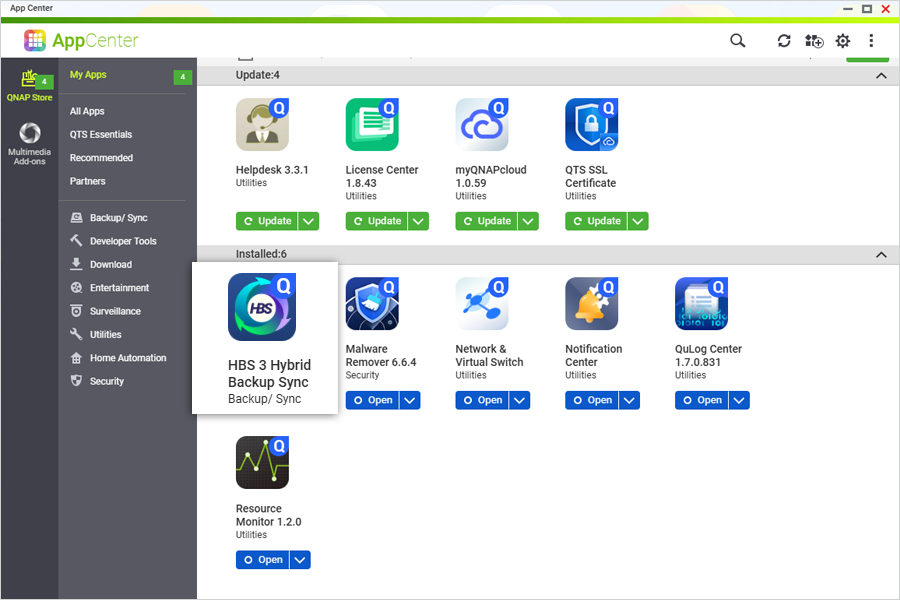
Open the 'QNAP App Center' and install 'HBS 3 – Hybrid Backup Sync'.
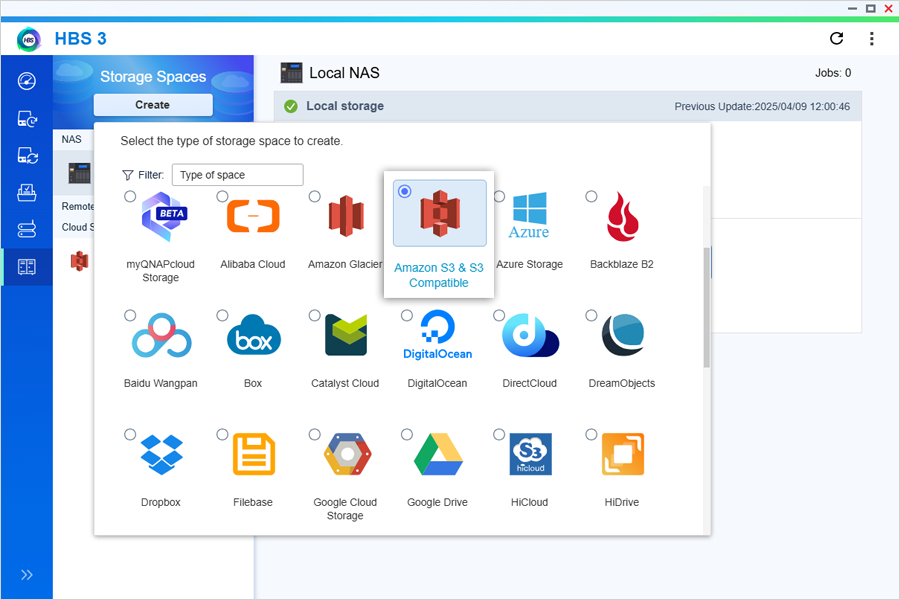
Launch HBS 3 and navigate to 'Storage Spaces'.
Click 'Create', then select 'Amazon S3 & S3 Compatible'.
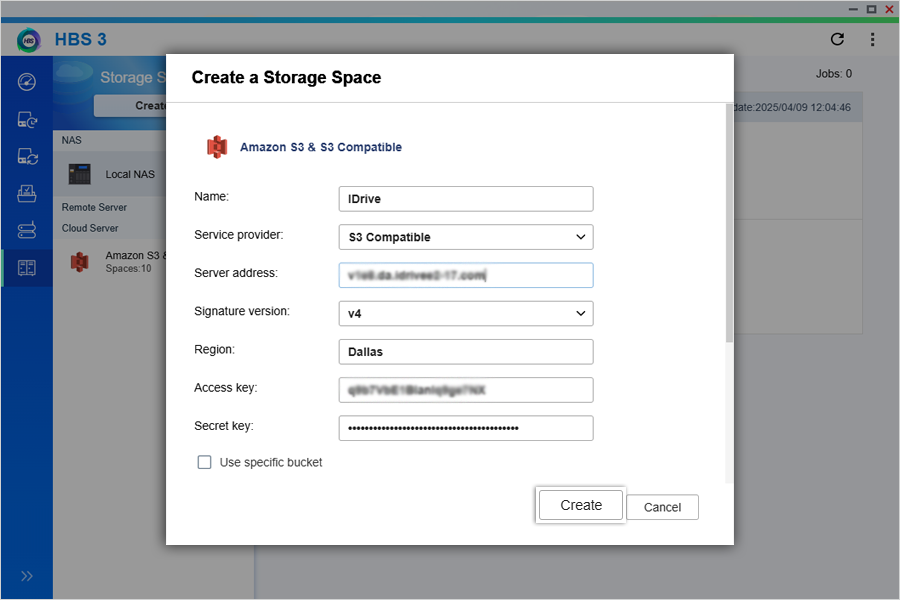
Enter your IDrive 'Access Key', 'Secret Key', and 'IDrive storage endpoint'.
Click 'Create' to add IDrive as the storage space.
How do I create a backup job to IDrive® in QNAP HBS 3?
Open the QNAP App Center and launch HBS 3 – Hybrid Backup Sync.
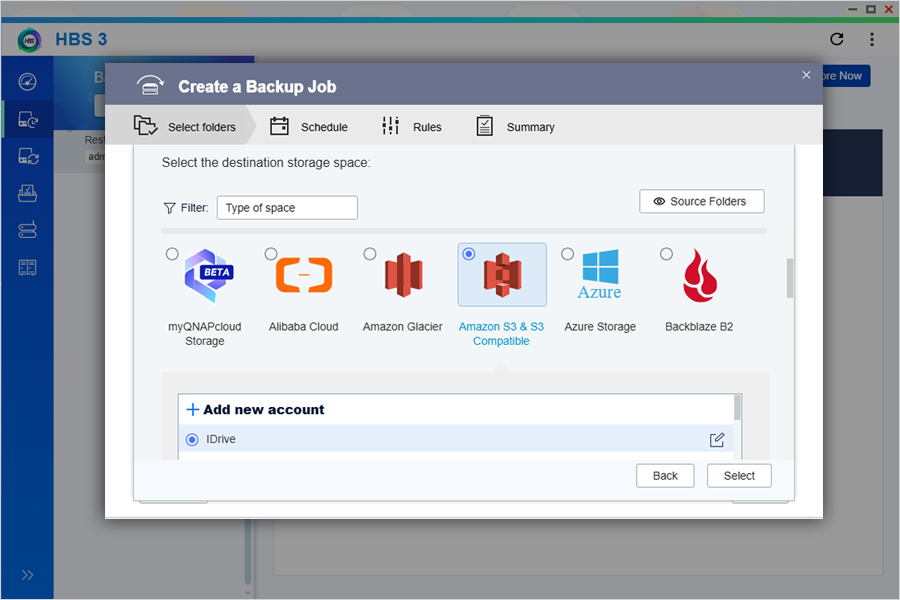
Go to 'Backup & Restore', and create or select a backup job.
Select files or folders for backup and click 'Next'.
Select the source NAS type — 'Local' or 'Remote'.
Choose the IDrive storage space as your backup destination.
Set up a schedule to automate backups if required, or click 'Back Up Now'.
Configure a job policy if required.
Verify the details in the summary and click 'Create'.
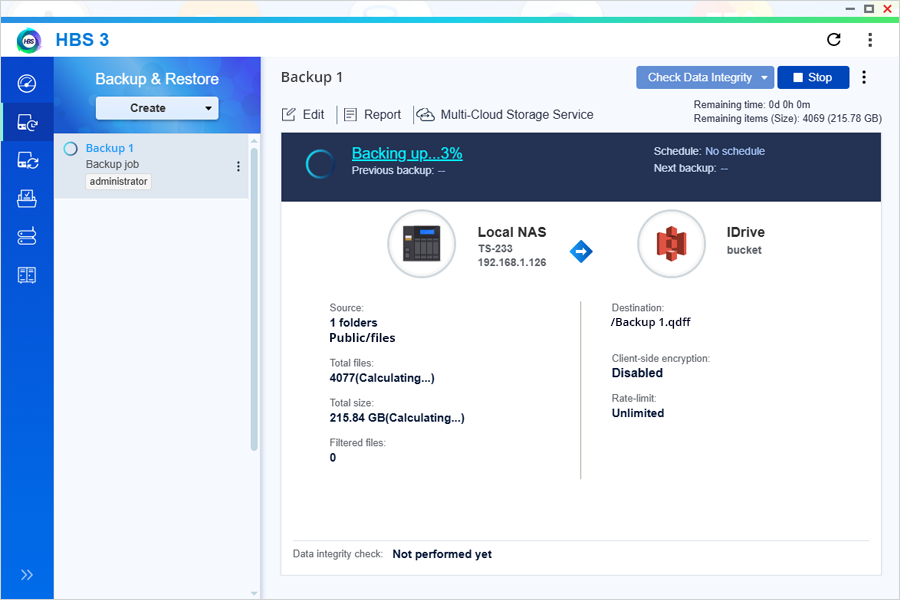
Once set up, the data from your NAS device will be backed up to IDrive.
How do I restore data from IDrive® to my QNAP device?
To restore QNAP NAS data from IDrive,
Open the QNAP App Center and launch HBS 3 – Hybrid Backup Sync.
Go to 'Backup & Restore'.
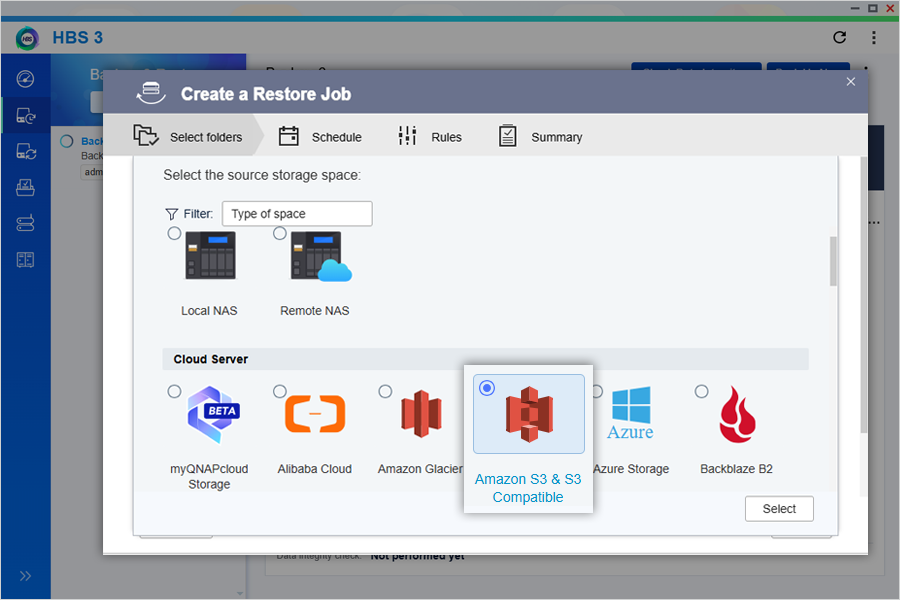
Click 'Create' and select 'Restore job'.
Select 'Amazon S3 & S3 Compatible' as the source storage space.
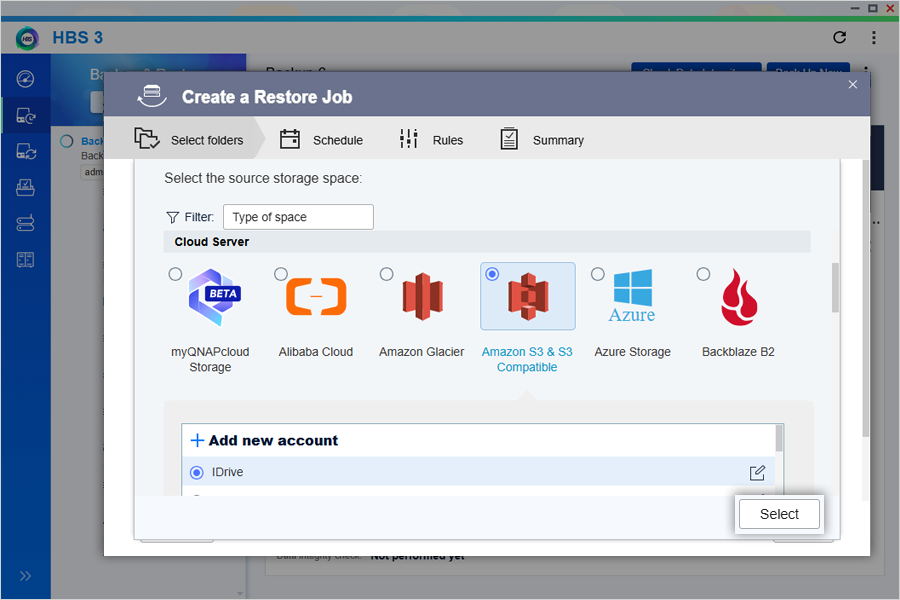
Choose 'IDrive' and click 'Select'.
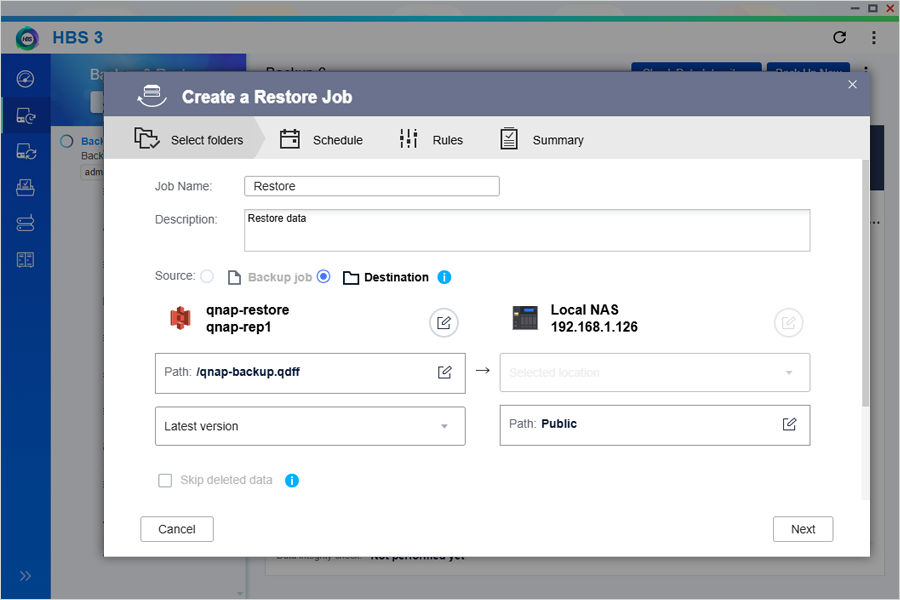
Enter job name and description.
Choose 'Source'.
Restore from Backup job: Restores data using an existing job, and automatically import related settings.
Restore from Destination: Restores data from a specified destination
Set up a schedule to automate restores if required or click 'Restore Now'.
Configure a job policy if required.
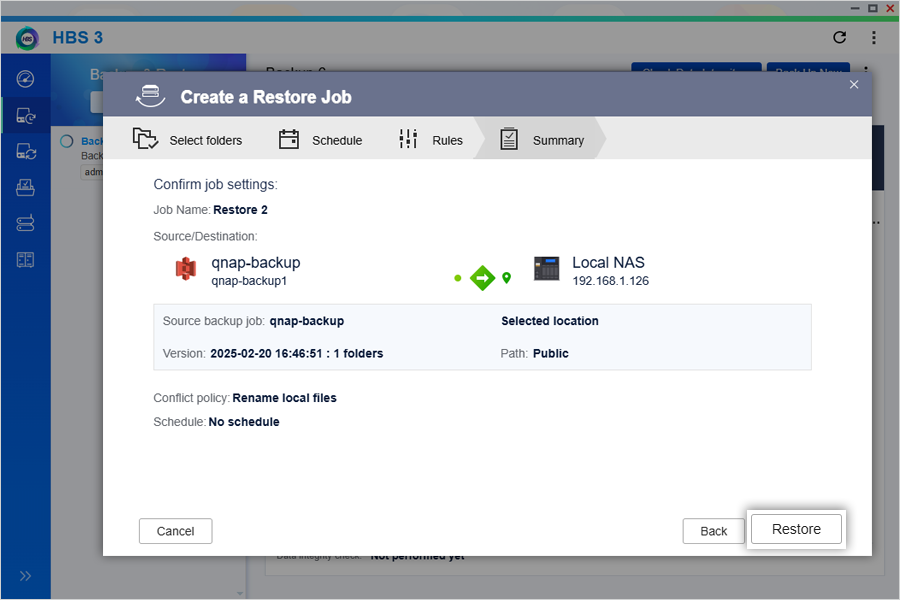
Verify the details in the summary and click 'Create'.
Selected data will be restored from IDrive to your NAS device.
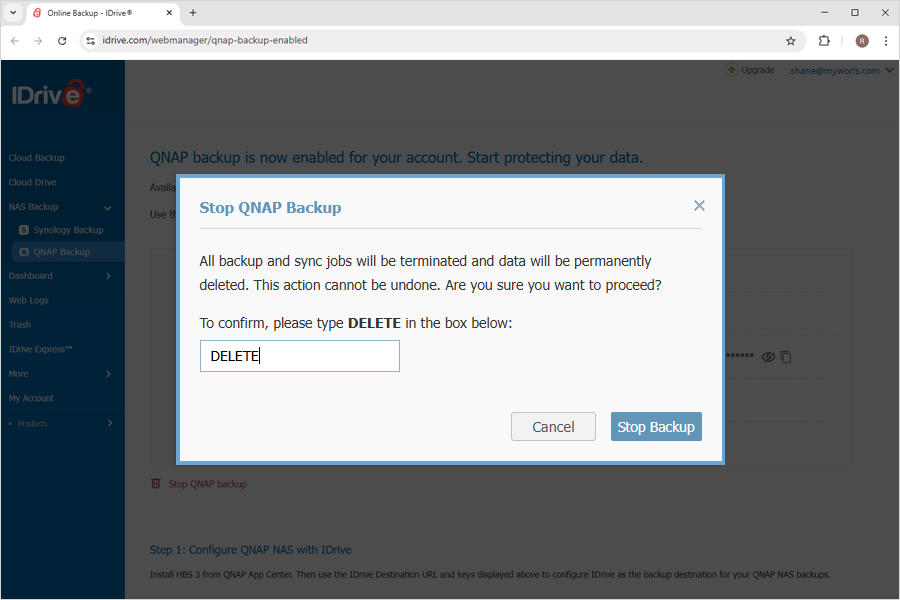
How do I stop QNAP Backup to IDrive®
Sign in to your IDrive account.
Navigate to 'NAS Backup' > 'QNAP Backup'.
Click 'Stop QNAP Backup'.
Provide confirmation in the popup.
Click 'Stop Backup'.
All backup jobs will be terminated and the QNAP data will be permanently deleted from your IDrive account.